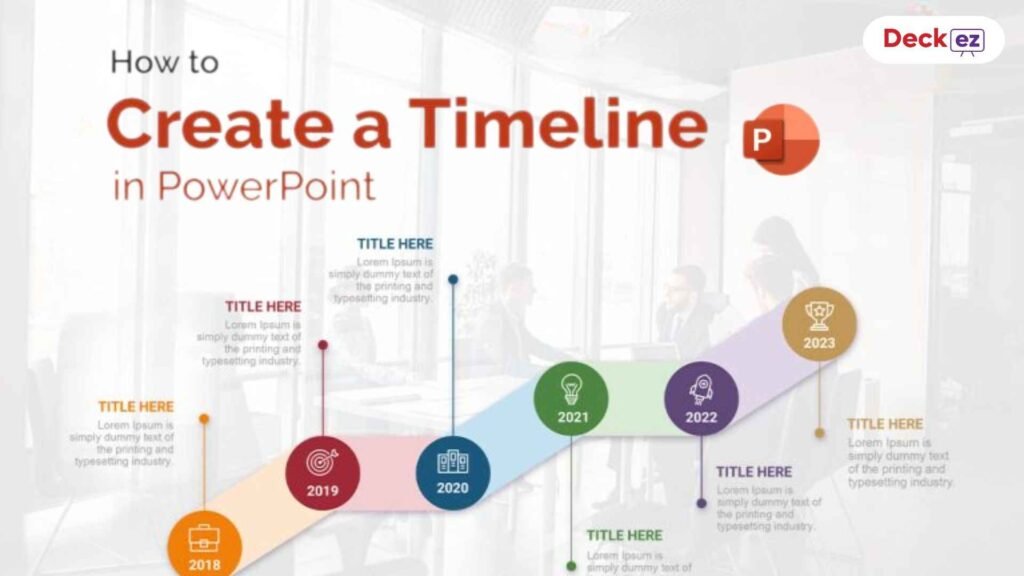
Are you tired of spending countless hours on a presentation only to have your slides look cluttered and uninspired? Do you wish you could create a polished, professional deck in half the time? You’re not alone. The secret to becoming a PowerPoint pro isn’t just about knowing the basics—it’s about mastering the shortcuts, understanding modern design principles, and leveraging the latest features.
This guide is your one-stop solution to transform your PowerPoint skills. We’ve compiled over 50 of the most essential tips and tricks for 2025, covering everything from time-saving shortcuts and design hacks to advanced features and delivery secrets. Whether you’re a student, a marketer, or an executive, this guide will help you create better presentations, faster.
Part 1: Time-Saving Shortcuts & Productivity Hacks (15+ Tips)
The first step to mastering PowerPoint is to stop doing things the long way. These shortcuts will dramatically speed up your workflow.
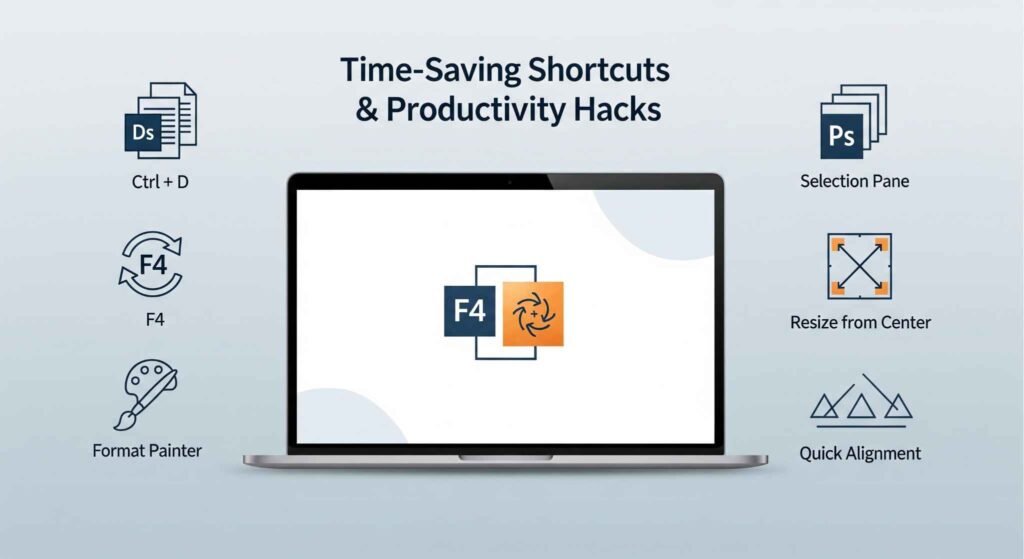
- Duplicate with a Shortcut: Select an object and press Ctrl + D (Cmd + D on Mac) to instantly duplicate it.
- The F4 Power-Up: After an action (like duplicating or resizing), pressing F4 repeats the last command. Use this to quickly apply the same change to multiple objects.
- Quick Alignment: Select multiple objects, then use Alt + Left/Right/Up/Down Arrow to nudge them pixel by pixel for perfect alignment.
- Format Painter: Double-click the Format Painter tool to apply the same formatting (font, size, color) to multiple objects or text boxes continuously.
- Selection Pane: For complex slides, press Alt + F10 (Fn + F10 on Mac) to open the Selection Pane. This lets you select, hide, and reorder objects easily, even if they’re stacked on top of each other.
- Resize from Center: Hold Ctrl + Shift while dragging a corner handle to resize a shape or image from its center.
- Auto-Align Objects: Select a group of objects, go to Shape Format > Align, and choose “Align Middle” or “Distribute Horizontally” for a clean layout.
- Customize the Quick Access Toolbar (QAT): Add your most-used commands (like Group, Ungroup, Align) to the QAT at the top of the screen for one-click access.
- Shift-Click for Straight Lines: Hold down the Shift key while drawing a line to ensure it is perfectly straight, either horizontally, vertically, or at a 45-degree angle.
- Group and Ungroup Objects: Select multiple objects and press Ctrl + G (Cmd + G on Mac) to group them. Press Ctrl + Shift + G to ungroup.
- Hide a Slide: In the thumbnail pane on the left, right-click on a slide and select “Hide Slide.” This is perfect for Q&A slides or extra content you may not need.
- Quick View Master Slide: Press Shift + click on the “Normal View” button in the bottom-right corner to jump directly to the Master Slide.
- Change Case Quickly: Highlight text and press Shift + F3 to cycle through uppercase, lowercase, and sentence case.
- Insert a New Slide: Press Ctrl + M to quickly insert a new slide with the default layout.
- Duplicate a Slide: Select a slide in the thumbnail pane and press Ctrl + D to duplicate the entire slide instantly.
Explainer Box: What is a Master Slide? The Master Slide is your blueprint. It’s the top slide in a hierarchy of slides that stores information about the theme, fonts, background, and layouts. Any changes you make to the Master Slide are automatically applied to all the slides in your presentation, making it the most powerful tool for maintaining consistency and saving time.
Part 2: Design Principles & Aesthetic Hacks (10+ Tips)
You don’t need to be a designer to make your presentations look professional. These tips focus on the core principles of good design.
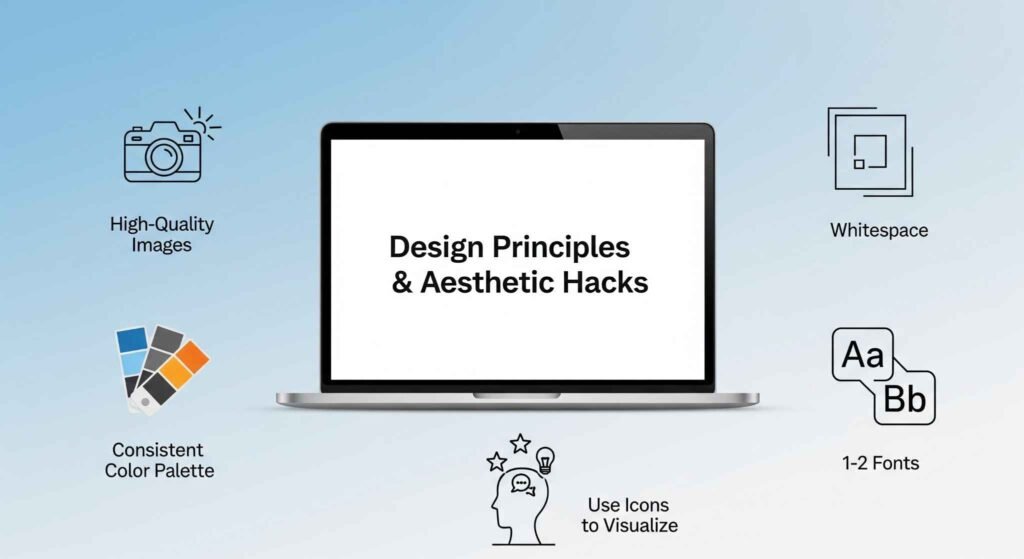
- Use High-Quality Images: Avoid blurry or pixelated images. Use free resources like Unsplash or Pexels for stunning, high-resolution photos.
- The 6×6 Rule: A classic rule of thumb: use no more than six bullet points per slide, with no more than six words per bullet point. This keeps your slides scannable and focused.
- Whitespace is Your Friend: Don’t be afraid of empty space. It makes your content stand out and prevents your slides from looking cluttered.
- Choose a Consistent Color Palette: Pick 2-3 colors for your presentation and stick to them. Tools like Coolors or Adobe Color can help you find harmonious palettes.
- Stick to 1-2 Fonts: Use one font for your headlines (a bold sans-serif works well) and another for your body text (a simple, readable font).
- Add a Gradient Overlay to Images: When placing text over an image, add a subtle gradient overlay to the image background. This makes your text pop and improves readability.
- Use Icons to Visualize Concepts: Icons are a powerful way to represent ideas without using text. PowerPoint has a built-in library of icons that are easy to customize.
- Create a Custom Color Theme: Go to View > Slide Master > Colors to create and save a custom color theme based on your brand palette. This ensures all your charts and shapes use the right colors.
- Use Alignment Guides: Enable the smart guides feature (View > Guides) to see red dashed lines appear as you move objects, helping you perfectly align them with other elements on the slide.
- Crop to Shape: Select an image and go to Picture Format > Crop > Crop to Shape to crop your image into a custom shape, like a circle or star.
Part 3: Advanced Features & Time-Saving Tricks (10+ Tips)
These powerful tools can take your presentations to the next level.
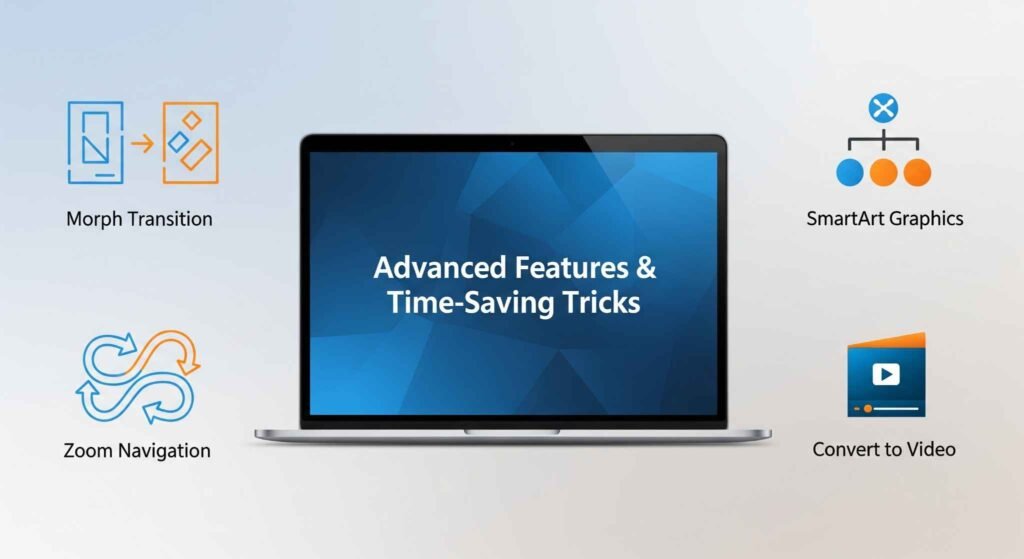
- Morph Transition: The Morph transition is a game-changer. It creates smooth, cinematic animations between two slides.
- How to use: Duplicate a slide, move/resize an object on the second slide, then select the second slide and apply the “Morph” transition.
- PowerPoint Designer: This AI-powered tool automatically suggests professional layouts and design ideas based on your content. Add an image or text, and Designer will offer multiple polished options.
- SmartArt Graphics: Instead of simple bullet points, use SmartArt to visually represent processes, lists, and relationships. It’s a quick way to turn text into a professional graphic.
- Zoom Navigation: Use the Zoom feature (Insert > Zoom) to create interactive, non-linear presentations. Create a summary slide with clickable links that take you to any section of your deck. This is perfect for Q&A or a choose-your-own-adventure style presentation.
- Quickly Change Shape Formats: If you want to change a shape from a rectangle to a circle, select it, go to Shape Format > Edit Shape > Change Shape, and pick a new one.
- Convert to Video: Export your presentation as a video file by going to File > Export > Create a Video. This is great for sharing on social media or as a standalone piece of content.
- Record Narration: Go to Slide Show > Record Slide Show to record your voice-over, laser pointer movements, and on-screen ink.
- Add Animations to Charts: Select a chart and go to Animations > Add Animation. Choose “Wipe” or “Fly In” and change the “Effect Options” to animate by series or by category to reveal data points one by one.
- Link to External Files: To link to a local file, select text or an object, and press Ctrl + K to open the link dialog. Then, browse your computer for the file.
- Create Custom Slide Layouts: In the Master Slide View, you can create and name your own custom slide layouts to reuse for specific content types.
Part 4: Data Visualization & Chart Mastery (5+ Tips)
Tables and charts are only effective if they’re easy to understand.
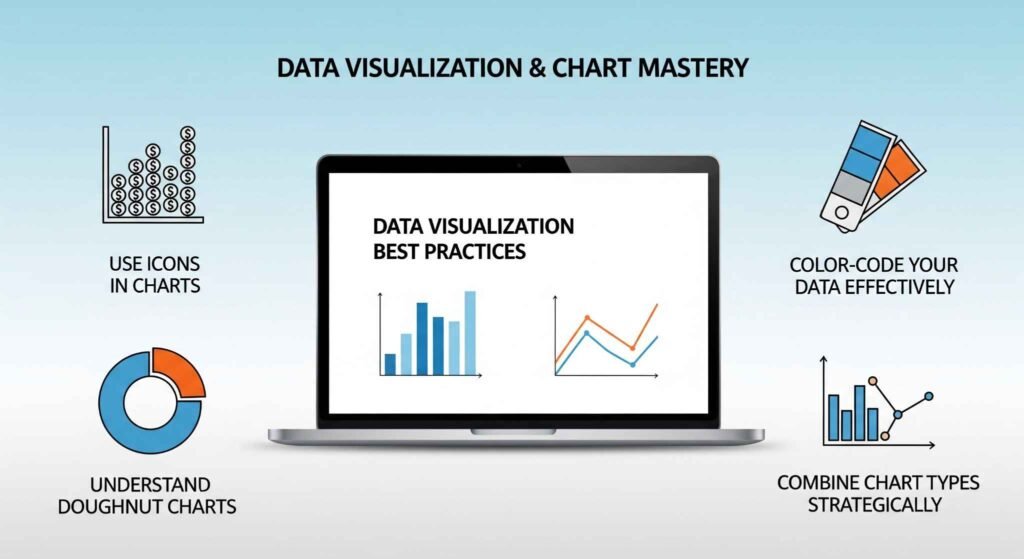
- Use Icons in Charts: Instead of a simple bar chart, use icons to represent data. For example, use a stack of money icons to show sales data.
- Create a “Doughnut” Chart: Use a doughnut chart instead of a pie chart to show percentages. It’s a cleaner and more modern-looking option.
- Color-Code Your Data: Use a consistent color scheme in your charts to represent different data sets. This makes trends and comparisons immediately obvious.
- Highlight Key Data: Use a contrasting color or a subtle animation to draw attention to the most important data point on a chart.
- Combine Chart Types: Use a combination chart (e.g., a bar chart with a line graph) to compare different data sets on a single slide.
- Remove Unnecessary Elements: Delete unnecessary legend boxes, gridlines, or axes that don’t add value to your chart.
Part 5: Presentation & Delivery Tips (5+ Tips)
A great presentation is about more than just your slides.

- Use Presenter View: Connect to a second screen and use Presenter View. This lets you see your current slide, the next slide, and your private speaker notes—all while your audience only sees the main slide. For a full guide, check out our article on how to add PowerPoint notes in 3 quick steps.
- The B Key & W Key: During a presentation, press B to black out the screen and W to turn the screen white. This helps to redirect your audience’s focus from the screen back to you.
- Start on a Blank Slide: Begin your presentation with a completely blank slide. It sets a clean tone and lets you get organized before diving into content.
- Use a Laser Pointer: Press Ctrl + L to activate the laser pointer feature and draw attention to specific areas on your slide.
- Jump to a Specific Slide: During a presentation, type the slide number and press Enter to jump directly to that slide.
- Enable Live Captions: Go to Slide Show > Subtitles to enable live captions in multiple languages, making your presentation accessible.
Table: Before & After (A Quick Comparison)
| Before (Outdated Method) | After (Modern Method) |
|---|---|
| Writing long sentences as bullet points | Using short, keyword-based bullet points |
| Using basic slide-by-slide transitions | Using the Morph transition for smooth animations |
| Using standard, default charts | Using custom colors and icons for charts |
| Manually aligning every object | Using Alt + F10 & Align tools |
| Reading from your slides | Using Presenter View with speaker notes |
Part 6: Working with Images, Video & Icons (5+ Tips)
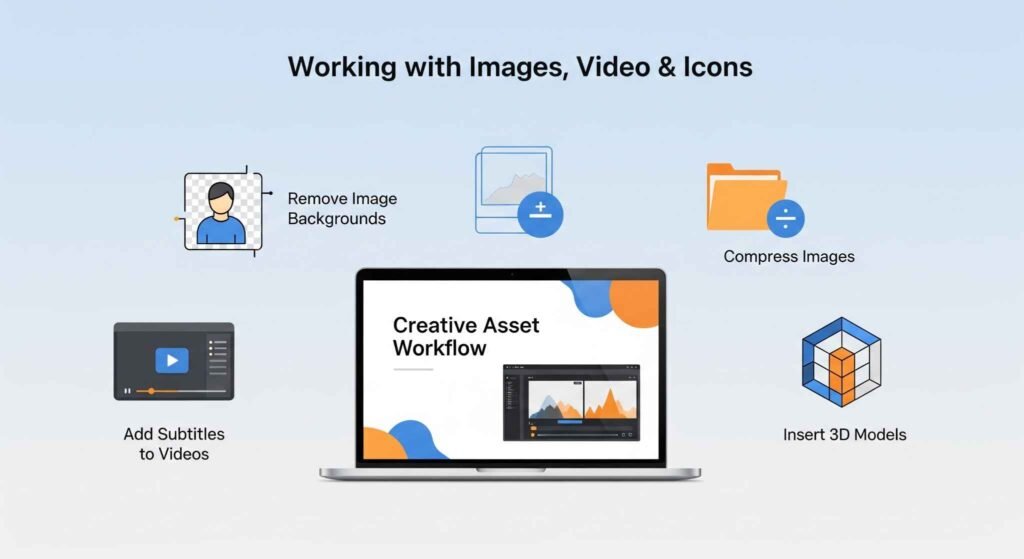
- Remove Image Backgrounds: Go to Picture Format > Remove Background to quickly isolate a subject in an image.
- Compress Images: Right-click on an image and select Compress Pictures to reduce your file size, making your presentation faster and easier to share.
- Use Transparent GIFs: Embed a looping transparent GIF to add subtle motion and visual interest without the heavy file size of a video.
- Add Subtitles to Videos: Embed videos with subtitles or closed captions to ensure your presentation is accessible to everyone.
- Insert 3D Models: Go to Insert > 3D Models to add and animate 3D objects in your slides.
For high-stakes presentations like investor pitch decks or business strategy decks, mastering these tips can be the difference between a good idea and a funded one. If you’re preparing for a critical moment, consider working with a professional Presentation Design Service to ensure every slide is a masterpiece.
Final Thoughts
Congratulations! You now have a comprehensive toolkit of over 50 tips and tricks to transform your PowerPoint skills in 2025. Remember, the best presentations aren’t just a collection of slides—they’re a story. Use these tips to help you craft your narrative with clarity, confidence, and visual impact.
The next time you open PowerPoint, try just one new tip. It could be as simple as using Ctrl + D to save a few seconds, or as powerful as using the Morph transition to create a stunning animation. Every small improvement you make will help you become a better communicator.
To explore more ways to elevate your presentations, check out our blog collection.
Frequently Asked Questions
Q1: How do I change the color theme of my entire presentation at once?
A: Go to the Design tab, click on the Variants dropdown, and then click Colors to select or customize a new color theme. This will apply the changes across all slides.
Q2: What is the best way to share a large PowerPoint file?
A: Compress images within the presentation, then save it as a PDF or share it via a cloud service like Google Drive or OneDrive to maintain quality without a large file size.
Q3: How can I embed a video that plays automatically?
A: Insert your video, then go to the Playback tab in the ribbon. Under “Start,” choose “Automatically” from the dropdown menu.
Q4: Can I use PowerPoint on my iPad or phone?
A: Yes, Microsoft offers a fully-featured PowerPoint app for both iOS and Android that allows you to create, edit, and present on the go.
Q5: What’s the best way to get feedback on my presentation?
A: Share a link to your presentation and invite others to comment. This feature is available in both the desktop app and PowerPoint for the Web, allowing for collaborative feedback.